You have made the decision to install some slick tiles in your home, or someplace that you have enough room to practice a little bit of hockey in. Good for you. Although setting up and installing dryland flooring is pretty simple and straightforward, it does not hurt to get a little help during the process. Follow these steps and you will be practicing, or even playing in no time.
Evaluate Your Area
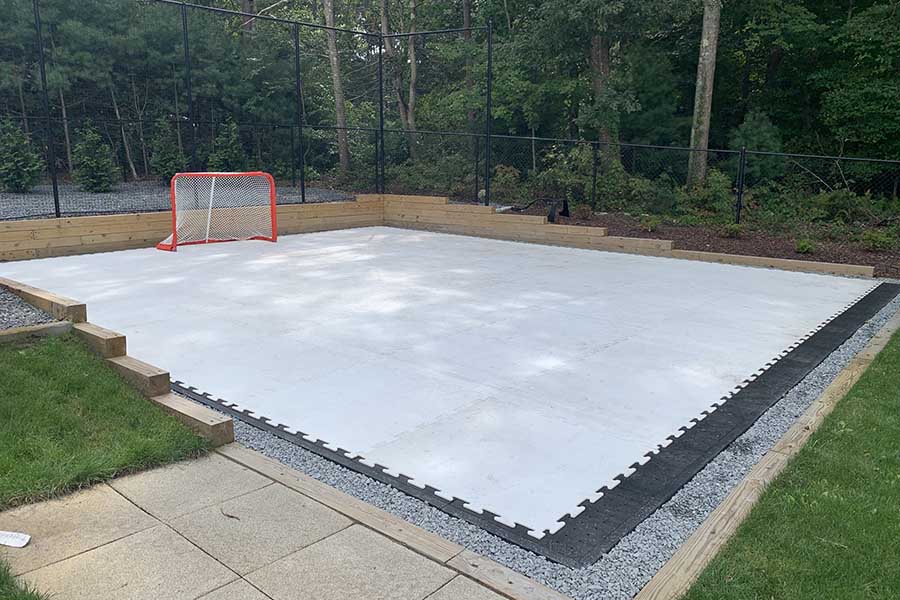
Before you go straight into building your flooring area, it is a good idea to double-check to see if the place that you have chosen to build on will be an effective area to build on. If you are contemplating building your flooring area on grass, dirt, or shaggy carpet it is recommended that you lay down a sub-flooring area first to build your flooring on top of.
You want to make sure that you have enough room to move around, and that the area is a hard, flat, and level surface. If the area does not have any of the recommended properties, you must either find a better place or as we mentioned earlier be prepared to build a sub-flooring area to build upon.
Measure Out Your Area
It helps to know the dimensions of the area that you plan to build your dryland flooring on. Typically, dryland tiles are one square foot apiece. That means that they are 12 inches wide by 12 inches long, in a square. When you measure out your area you can get an idea of how many tiles you will need to build your entire flooring area. Once you have everything measured out, have an idea flooring area to build on and you have your tiles, you will be ready to build.
Lay Out Your Tiles
Unlike synthetic ice, slick tiles are squared and equipped with loops and teeth that help them to join together. The connectors are located on the bottom of the tiles so that when they lay flat on the floor there will be less room for separation and cracks in the surface.
Two edges of the tiles will have loops, the other two will have teeth. They will be on the opposite sides of each other so that when you are putting them together you will be able to join them from end to end.
When installing your slick tiles, simply place one tile flat on the ground with the loop end on the side where you want to place the next tile. Slide the adjoining tile into place at an angle so that you can fit the teeth into the loops and make sure that they are connected correctly.
Once the fittings are in place, press the second tile downward, flat to the surface then firmly press your fingers into the surface of the tiles where the joints connect. When you press correctly you will hear a “click” as the connection locks into place. There are flour tooth and loop tabs per side of each tile, so make sure you press all four into place and hear a “click” from each one.
Lay down the tiles one at at time in a straight row from one end to the other, when it is time to go to the next row down, repeat the instructions from the side to side, and incorporate each tile into place as you build your entire flooring area.
***Sniper’s Edge Hockey loves Canada! We proudly ship all of our products to Canada and offer the same return policies as we do for everybody else. We realize the exchange rates for the Canadian dollar are not the best right now, so we’re trying to help by giving you free shipping and no customs/duty.***


